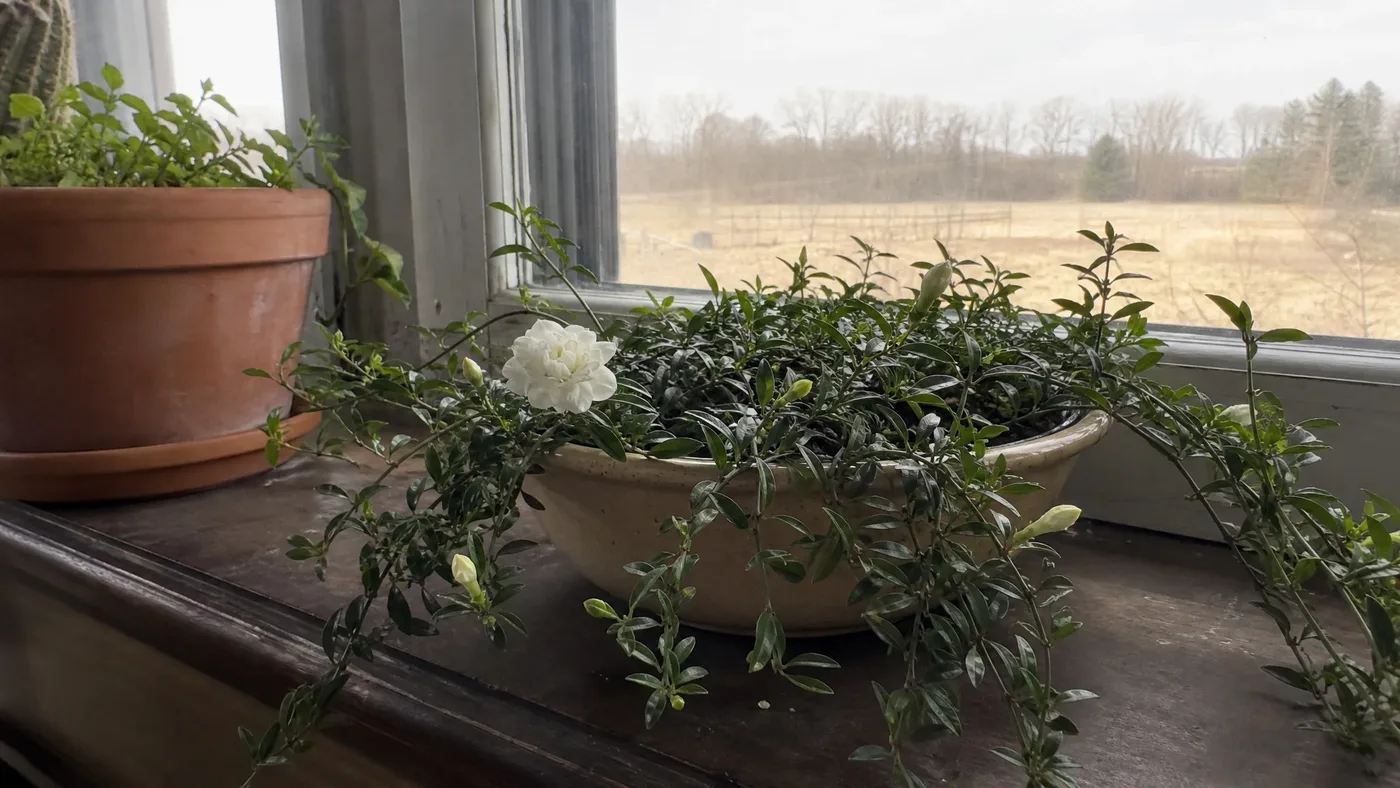
Growing Dwarf Gardenia Radicans Indoors
Step into a room where a gardenia is in bloom and the perfume reaches you before your eyes find a single flower. That sweetness is the whole reason people want this plant indoors.
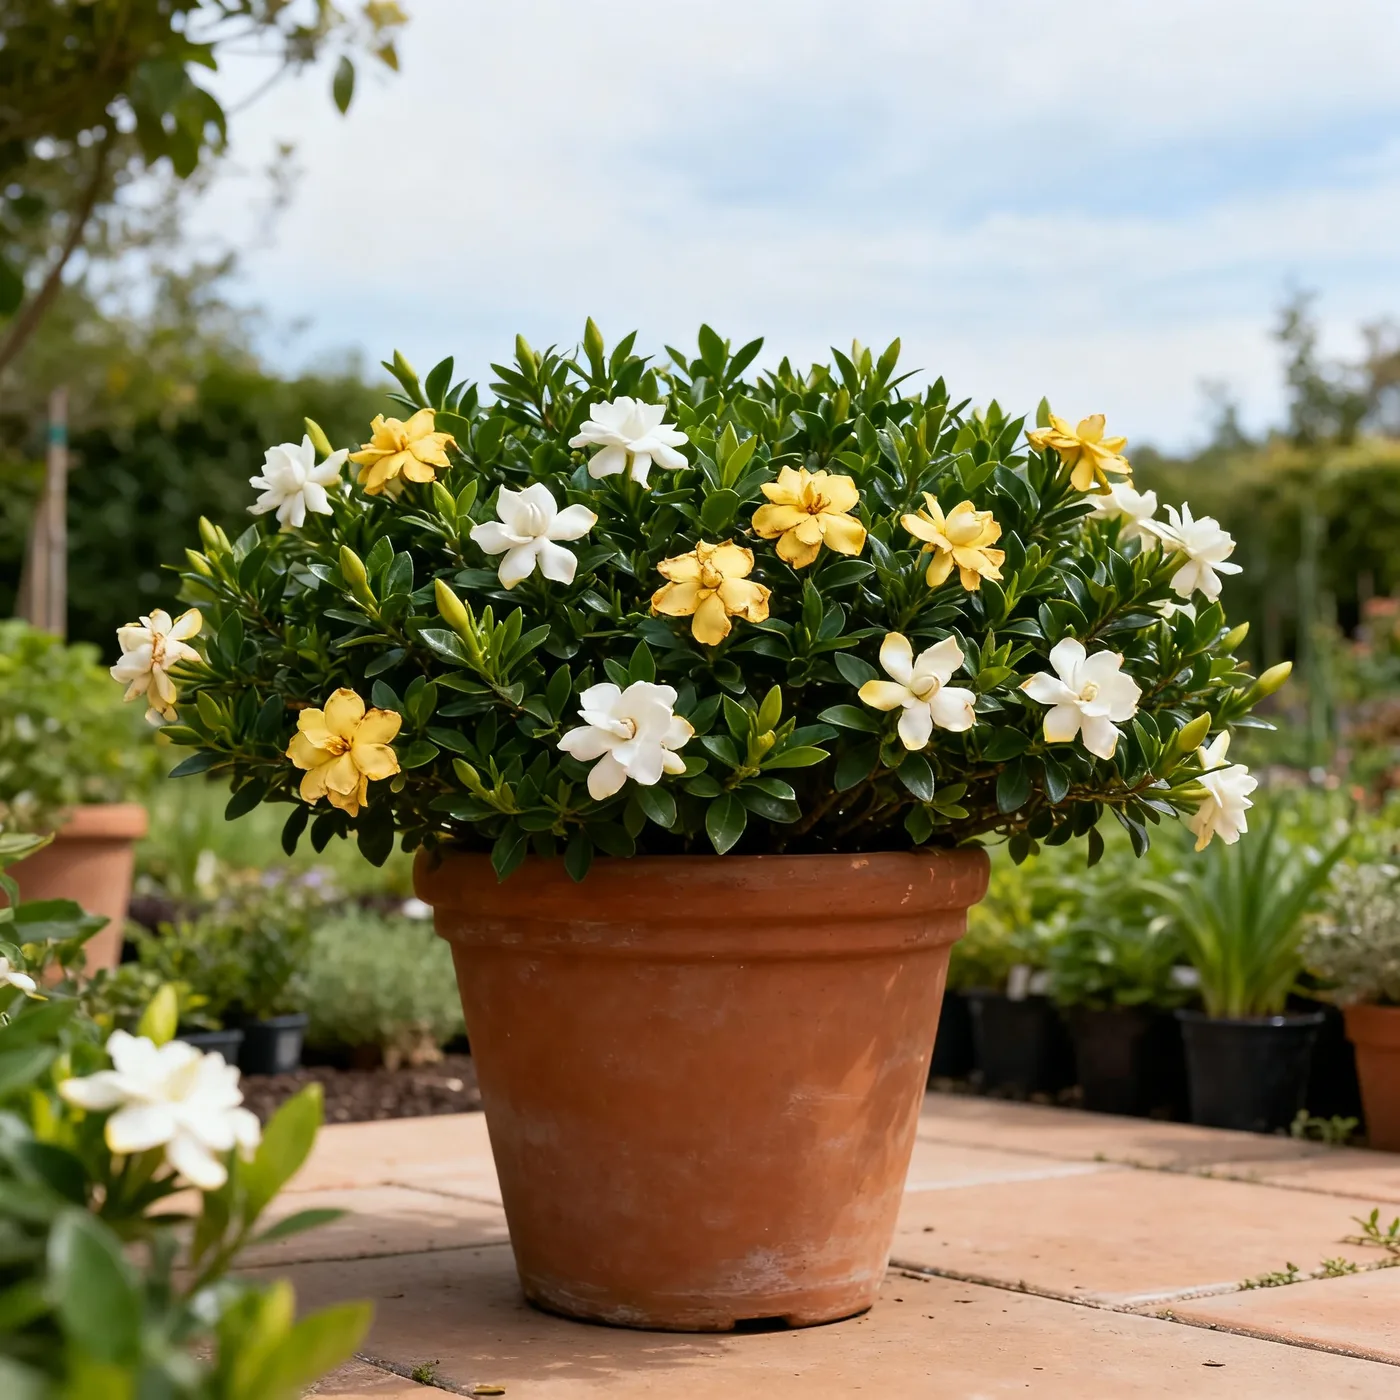
The common belief is that a dwarf gardenia makes an easy houseplant because it stays small. What we see instead is that size is the only easy part. Radicans stays low and wide, but it wants bright light, cool nights and moist air, and a heated house offers none of those by default.
We'll walk you through the light and placement problems, then bud drop, dry air and sap-feeding pests, then the watering and pot trouble behind yellow leaves, and finally a gentle rhythm for the whole year. Get these right and the buds open. Get them wrong and they drop.
Is Dwarf Gardenia Radicans Truly a Houseplant?
Yes, with conditions. The shape is genuinely right for a pot. Clemson lists it at only 6 to 12 inches tall, spreading 2 to 3 feet, and NC State gives a slightly taller range of 6 to 18 inches. Compare that with the standard species, a shrub that can reach 4 to 8 feet. Radicans fits a shallow, wide pot on a sill or a plant stand, and the stems soften over the rim as they lengthen.
The cultivar is also not very cold hardy, and NC State lists it for zones 7b to 8b. That is one more reason to keep it in a pot where winter can't reach it.
What the Trailing Habit Gives You
A low mound of glossy leaves is easy to place where you'll walk past it. Flowers are white to cream and age to yellow, and the scent carries well beyond the plant. Because it is small, you can move it to the best window in the house in a minute.
What It Asks in Return
Small does not mean low-maintenance. A Radicans in a living room needs four things at once:
- Very bright light, with real sun on the plant for part of the day.
- Cool nights compared with daytime living-room temperatures.
- Air that is moister than most heated homes provide.
- Evenly moist, acidic, well-drained potting mix that never sits wet.
If you can give three of the four, expect leaf trouble. If you can give all four, expect flowers. We pot our plants in a mix that suits that last point, so a plant from us starts with the right footing. Give it a week or two to settle before you judge it.
Leaves Pale and Stretched Toward the Window
Pale, thin new growth with wide gaps between leaf pairs is a light problem nine times out of ten. A Radicans that should be compact and dark green starts reaching, leans toward the glass, and produces no buds at all. The plant is spending energy looking for light instead of building flowers.
Colorado State's PlantTalk says gardenias need very high light for more than four hours daily to grow well and flower. A bright spot across the room doesn't count. Most homes only deliver that level right at the glass.
Fix the Placement
Move the pot to the sunniest window you have. Missouri Extension advises a sunny south or west window, and we agree. Turn the pot a quarter turn every week or so, so the trailing stems fill in evenly instead of all leaning one way.
Watch the hottest part of the afternoon. Gardenias outdoors prefer morning sun and afternoon shade, and glass concentrates heat. If leaves bleach or show brown patches on the sunny side, pull the plant back a few inches or hang a sheer curtain. A plain curtain solves it without losing the brightness.
No south or west window? A grow light placed close to the foliage will do the job. Clean the glass first, because dusty windows steal more light than you'd guess.
Pale Is Not Always Light
Check the veins. If the whole leaf is evenly pale, think light. If the leaf is yellow but the veins stay green, think soil. That pattern points to a potting mix that has drifted out of the acid range, and gardenias want a pH below 6.0. Our soil and pH guide covers testing and correcting it.
Buds Turning Brown Before They Open
This is the heartbreak. Fat green buds appear, then they brown, shrivel or simply fall off. Gardenias are touchy about this, and the cause is almost always a change: a new spot, a new draft, a swing in temperature or a dry spell in the pot.
One of the most common questions we get is why buds dropped within days of a plant coming home. The move itself is usually the answer.
Match the Symptom to the Cause
Use this table to trace what you see back to a likely cause and the remedy.
| What you see | Likely cause | Fix |
|---|---|---|
| Buds drop a week after a move | Change of location or light | Pick a permanent spot and leave it there |
| Buds brown on the window side | Cold glass or a draft | Pull the pot back from the pane and seal the gap |
| Buds shrivel, leaf tips crisp | Dry air near a heat vent | Move away from the vent and raise humidity |
| Buds drop, soil bone dry | Pot dried out between waterings | Water evenly, never to the wilting point |
| Buds never form, nights warm | Night temperatures too high | Move to a cooler room at night |
Mind the Temperature Window
The UC integrated pest management program notes that gardenias flower only within a relatively narrow temperature range and will drop buds when it runs high or low. PlantTalk says night temperatures should sit between 60 and 65°F to set buds. Missouri Extension puts the preference at close to 60°F at night and 70 to 75°F by day.
So a bedroom or sunroom that cools off after dark beats a living room held at 72°F around the clock. Misting while a plant adjusts to a new place may also ease bud drop, though it won't rescue a plant sitting in a draft.
If you must move the plant, do it before buds show color, and change only one thing at a time. A new window and a new room temperature together is more than a bud will forgive.
Crispy Edges and a Dry-Air Home
Brown, papery tips on the leaf edges say the air is too dry, the root ball has been too dry, or both. Radicans has small leaves, so the damage shows quickly as a ragged brown rim on an otherwise glossy plant. Winter is the worst time, when heating drops the humidity in every room.
PlantTalk gives the target: gardenias thrive in 50 to 60 percent relative humidity. Many heated homes run well below that in winter. A cheap hygrometer on the sill tells you where you stand, so you aren't guessing.
Home Fixes That Work
These are the changes we suggest, roughly in the order they pay off:
- Run a small humidifier in the room through the heating season. This is the most reliable fix on the list.
- Set the pot on a tray of pebbles with water just below the pebble tops, so the pot never sits in the water.
- Group it with other plants, which raises the humidity around all of them.
- Keep the pot away from heat vents, radiators and the airflow of a fan.
- Check the mix every few days. The top should feel damp, never dusty.
Pebble trays help a little but rarely lift the whole room. If the brown keeps spreading after you've done them all, look at the roots next. Damaged roots can't deliver water, and the tips show it first.
Trim browned tips only if they bother you. Cut them off along the leaf shape with clean scissors, and don't expect the brown to turn green again.
Sticky Leaves and Tiny Visitors on Dwarf Gardenia Radicans
If a leaf feels tacky, or a black film is spreading across the upper surface, something is feeding on the sap. The sticky coating is honeydew, and the black film is sooty mold growing on it. The mold is a symptom, not the cause, so wiping it away won't stop it returning.
Gardenias attract several culprits. Clemson calls whitefly the most commonly occurring problem on gardenias in its state, and the University of Florida notes that trailing gardenia is susceptible to whitefly, scale and aphids. Colorado State adds mealybugs and spider mites for indoor plants.
Read the Clues
Shake a stem. A cloud of tiny white flyers means whitefly. Flat brown bumps that don't move are scale. Soft clusters on fresh tips are aphids, and white cottony tufts in the leaf joints are mealybugs. Fine webbing and stippled leaves point to spider mites, which love dry air, so fix your humidity too.
Clean It Up Step by Step
- Move the plant away from your other plants so nothing spreads.
- Wipe honeydew and mold off the leaves with a damp cloth, top and underside.
- Rinse the whole plant in a sink or shower with lukewarm water, and let it drain.
- Spray the undersides with insecticidal soap, following the label exactly.
- Repeat every week or so, and keep checking the undersides for a few weeks, because eggs and young hatch later.
Keep pets away from treated plants until they dry. The plant itself is also a concern, so read our guide on toxicity to dogs and cats before you place it low.
Soggy Pots, Yellow Leaves and Dwarf Gardenia Radicans Roots
Yellow leaves with a limp, tired look are the classic sign of wet roots. Older leaves go first, the plant droops even though the soil is damp, and sometimes the pot smells sour. Clemson notes that root rots caused by several fungi are a problem primarily in poorly drained soils.
We often see well-meaning owners water on a schedule instead of by touch. A small plant in a big pot dries slowly, and a saucer left full keeps the bottom of the mix soaked.
Tell Wet From Dry
Limp leaves can mean too much water or too little. Lift the pot. A heavy pot with damp mix means overwatering, and a feather-light one means the opposite. Check the roots by sliding the plant out. Healthy roots are pale and firm, and rotted ones are dark and mushy.
The dry side is serious too. PlantTalk warns to never let these plants dry to wilting, because they will not recover. Aim for evenly moist, never soggy and never parched. Our watering guide goes deeper on rhythm.
Fix the Pot
Trim any mushy roots, repot into fresh acidic mix, and use a pot with drainage holes. Missouri Extension recommends at least 50 percent peat moss or other organic material for acid-loving plants. Choose a pot only slightly wider than the root ball, and empty the saucer after each watering. For pot choices, see our container guide.
A Fragrant Dwarf Gardenia Radicans Through the Seasons Indoors
Once the big problems are solved, the year becomes a rhythm of small adjustments. The plant tells you what it wants, and you respond. Nothing here is dramatic.
The main flush comes May through June, with scattered flowers through the summer. Starting in March, feed every two weeks through August with a water-soluble, acidic fertilizer, as PlantTalk advises. Prune lightly right after the flowers finish to remove straggly stems and faded blooms. Don't prune in fall, when buds are forming.
Summer can be spent outdoors in a slightly shaded spot if you like, but bring the pot inside before nights turn cold. Radicans has no frost tolerance.
In fall, a cooler room at night helps the plant set buds, within that 60 to 65°F range. After that, avoid moving it. Through winter, keep it near the brightest window, away from vents, with a humidifier running nearby. Water when the top of the mix starts to feel dry, and keep the saucer empty.
When spring light returns, the plant wakes up on its own. That is your cue to start feeding again.
Fixing Dwarf Gardenia Radicans One Symptom at a Time
Most indoor trouble comes down to light, steady conditions, humidity and water. Pale stretched growth wants a brighter window. Bud drop wants a permanent spot and cool nights. Crispy edges want moister air. Sticky leaves mean pests, and yellow limp leaves mean you should check the roots before anything else.
Don't change everything at once. Pick one symptom you've noticed this week and fix only that before touching anything else. The plant will show you whether you were right.
Dwarf Gardenia Radicans
Nursery-grown Dwarf Gardenia Radicans in sizes from 1 Gallon, shipped to your door.
From $36.97
Shop Now →Indoor or out, a Dwarf Gardenia Radicans does its best work for us in damp, acidic ground that drains freely, with sun early in the day and shade by midafternoon. Every plant we sell is raised by our own small group of growers, who tend top-quality shrubs from first cutting to final check. When you are ready to put the tips from this guide to work, we would be happy to have you begin with a gardenia from our farms.